🌐 Website • 💡 Getting Started • 👀 Demos
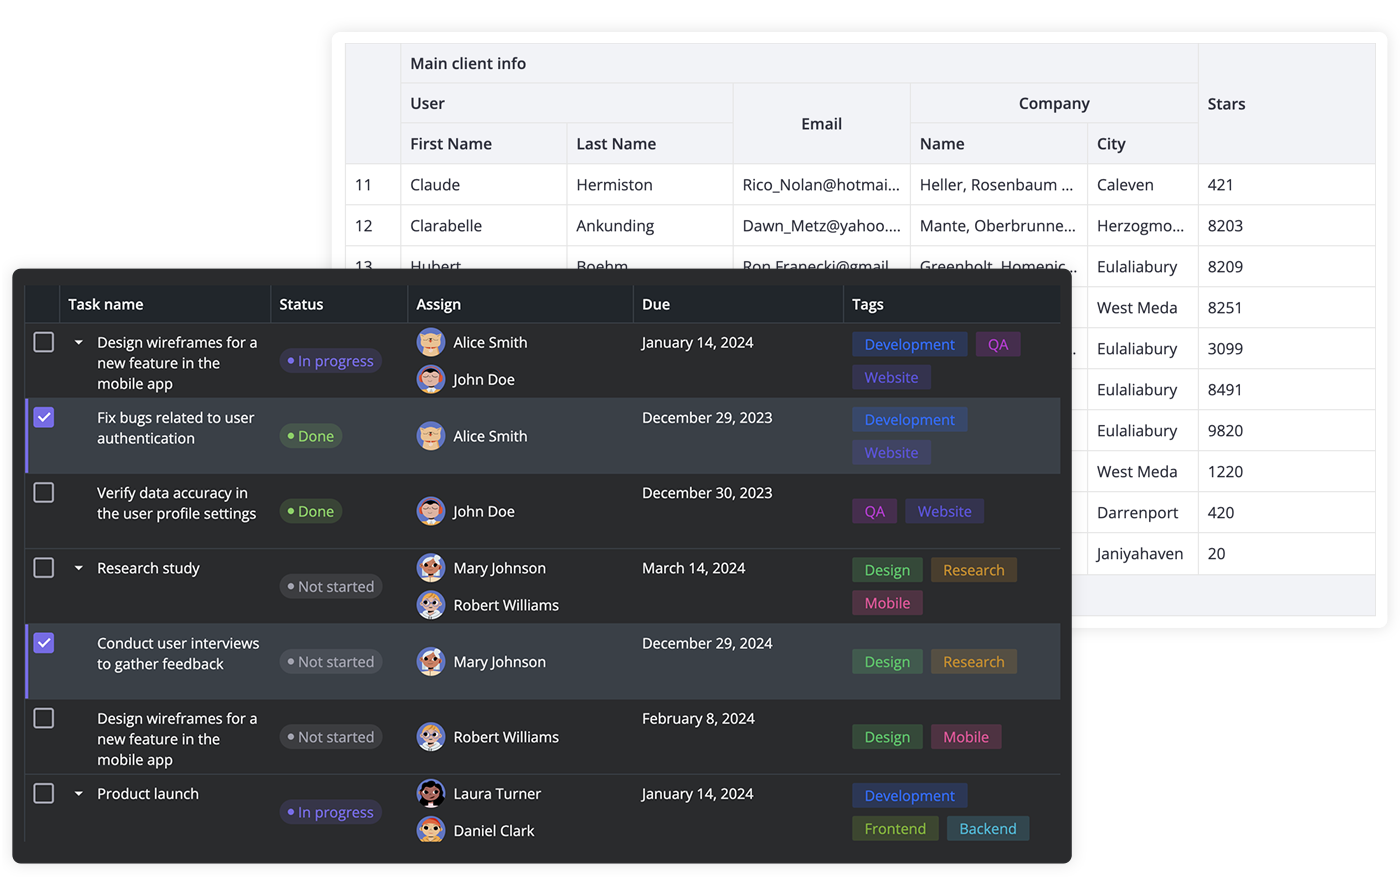
SVAR DataGrid is an advanced Svelte component that enhances standard data tables, enabling you to create high-performance, feature-rich data grids that efficiently handle large data sets. Fully customizable, it supports inline editing with a variety of cell editors to meet diverse project requirements.
There are two versions of the library: the 1.x version, designed to work with Svelte 4, and the 2.x version, created for Svelte 5. Please note that the 2.x version is in beta and may contain some instabilities.
To use the SVAR DataGrid beta for Svelte 5, install it as follows:
npm install wx-svelte-grid
To use the SVAR DataGrid for Svelte 4:
npm install wx-svelte-grid@1.3.3
- High performance (virtual scrolling and dynamic loading)
- In-cell editing with different cell editors (datepicker, combo, select, rich select, etc.)
- Sorting by multiple columns
- Responsive design to adapt to different screen/container sizes
- Multiple row selection
- Fixed columns
- Expandable/collapsible columns
- Customizable tooltips for grid cells
- Context menu
- Tree-like structure
- Paging
- Export to CSV
- Keyboard navigation
- RestDataProvider for easy backend data binding
- Dark and light skins
To use SVAR DataGrid, simply import the package and include the component in your Svelte file:
<script>
	import { Grid } from "wx-svelte-grid";

	const data = [
		{
			id: 12,
			name: "Alex Brown",
			year: 1974,
		},
	];
	const columns = [
		{
			id: "name",
			header: "Title",
			flexgrow: 1,
			sort: true,
			editor: "text",
		},
		{
			id: "year",
			header: "Year",
			width: 100,
			sort: true,
			editor: "text",
		},
	];
</script>

<Grid {data} {columns} />
For further instructions, see the detailed how-to-start guide.
Typically, you don't need to modify the code. However, if you wish to do so, follow these steps:
- Run
yarnto install dependencies. Note that this project is a monorepo usingyarnworkspaces, so npm will not work - Start the project in development mode with
yarn start
To run the test:
- Start the test examples with:
yarn start:tests
- In a separate console, run the end-to-end tests with:
yarn test:cypress
Post an Issue or use our community forum.


